# 安装 Docker
# 在 Windows 系统上安装 Docker
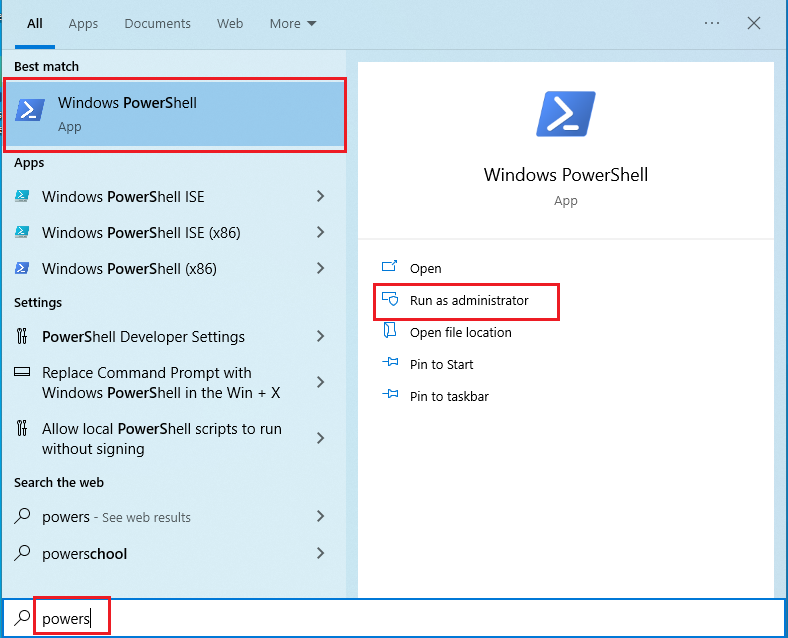
# 0. 检查是否安装过 WSL
以 管理员模式 打开 PowerShell,执行以下命令:
wsl -l -v
看到以下提示,说明没有安装过 WSL,继续往下执行即可。如果安装过并且是 WSL2 就不用重新安装了,否则需要把 1 升级到 2。
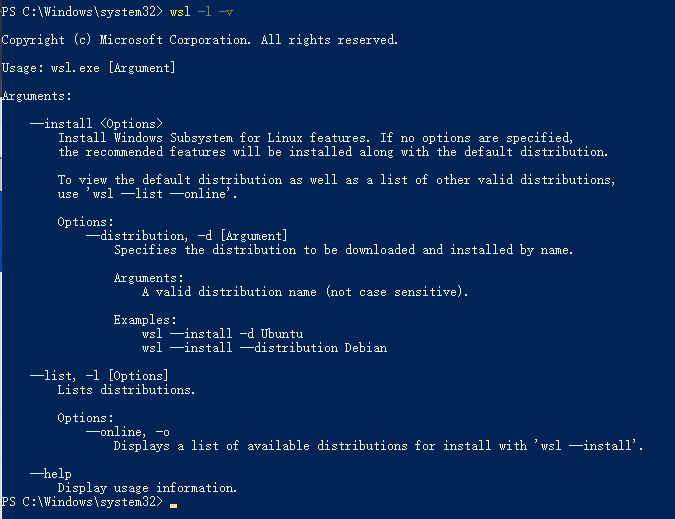
如果安装完成,会显示以下提示。
PS C:\Windows\system32> wsl -l -v
Windows Subsystem for Linux has no installed distributions.
Distributions can be installed by visiting the Microsoft Store:
https://aka.ms/wslstore
有可能是这个。
PS C:\Windows\system32> wsl -l -v
NAME      STATE           VERSION
* Ubuntu    Stopped         2
# 1. 安装 WSL2
如果之前没有安装过 WSL,执行以下安装命令,安装 WSL2
wsl --install
等待命令执行完成,看到下面的结果说明执行完成了,重启电脑。
PS C:\Windows\system32> wsl --install
Installing: Virtual Machine Platform
Virtual Machine Platform has been installed.
Installing: Windows Subsystem for Linux
Windows Subsystem for Linux has been installed.
Downloading: WSL Kernel
Installing: WSL Kernel
WSL Kernel has been installed.
Downloading: Ubuntu
The requested operation is successful. Changes will not be effective until the system is rebooted.
重启完成后,会看到以下界面。
我们需要初始化一个 Ubuntu 用的账号和密码。
如果怕忘记,建议设置的简单点,反正就自己用:
账号:dev
密码:123456

# 2. 安装 Docker
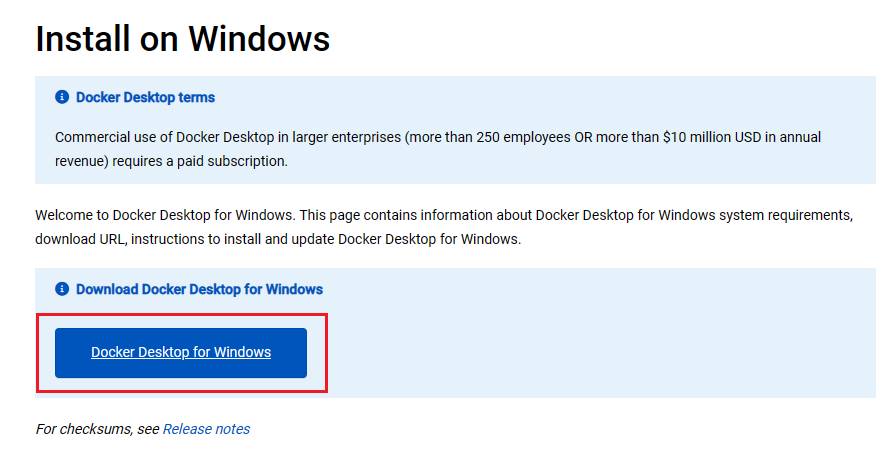
进入 Docker Windows Desktop 官网: https://docs.docker.com/desktop/install/windows-install (opens new window)
点击【Docker Desktop for Windows】下载安装文件
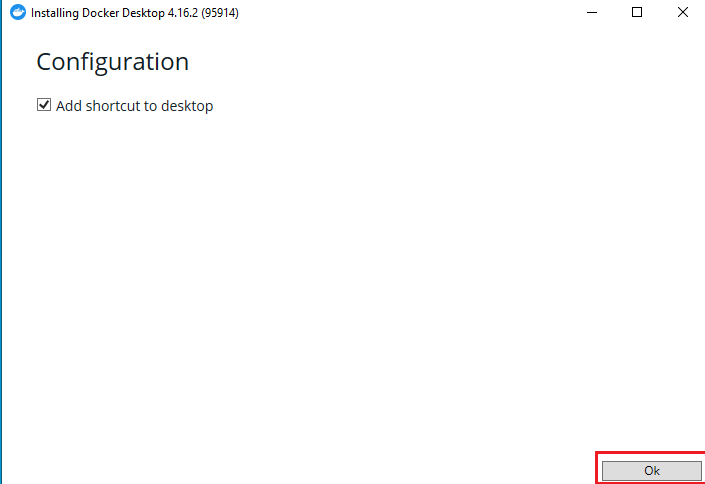
安装完成后,双击【Docker Desktop Installer】进行安装。

会自动下载所需要的文件,点击右下角的【Ok】即可。
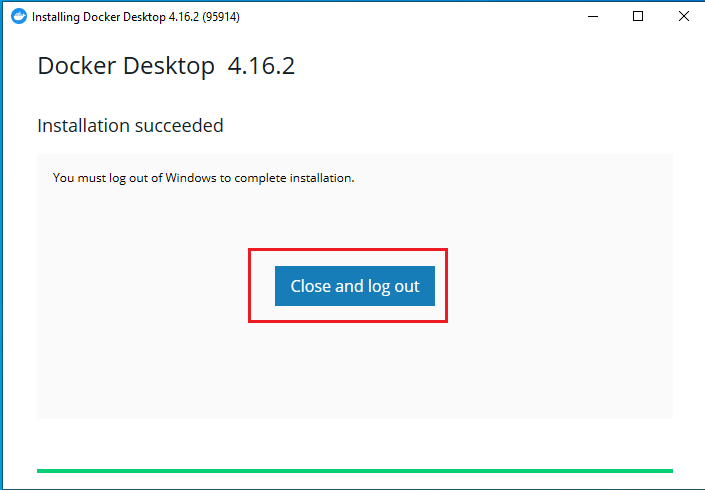
安装完成后,需要注销重新登陆才生效。
建议重启电脑,保险一点。
# 3. 启动 Docker
在桌面上找到 Docker Desktop 的图标并双击启动。

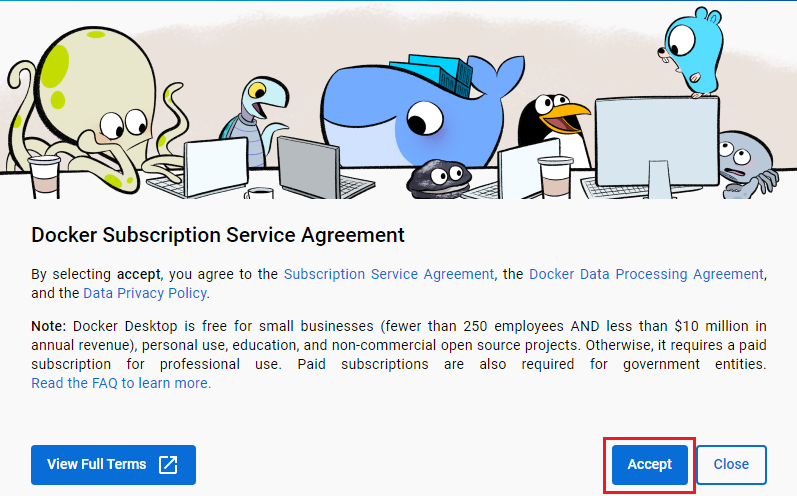
这里必须选【Accept】。
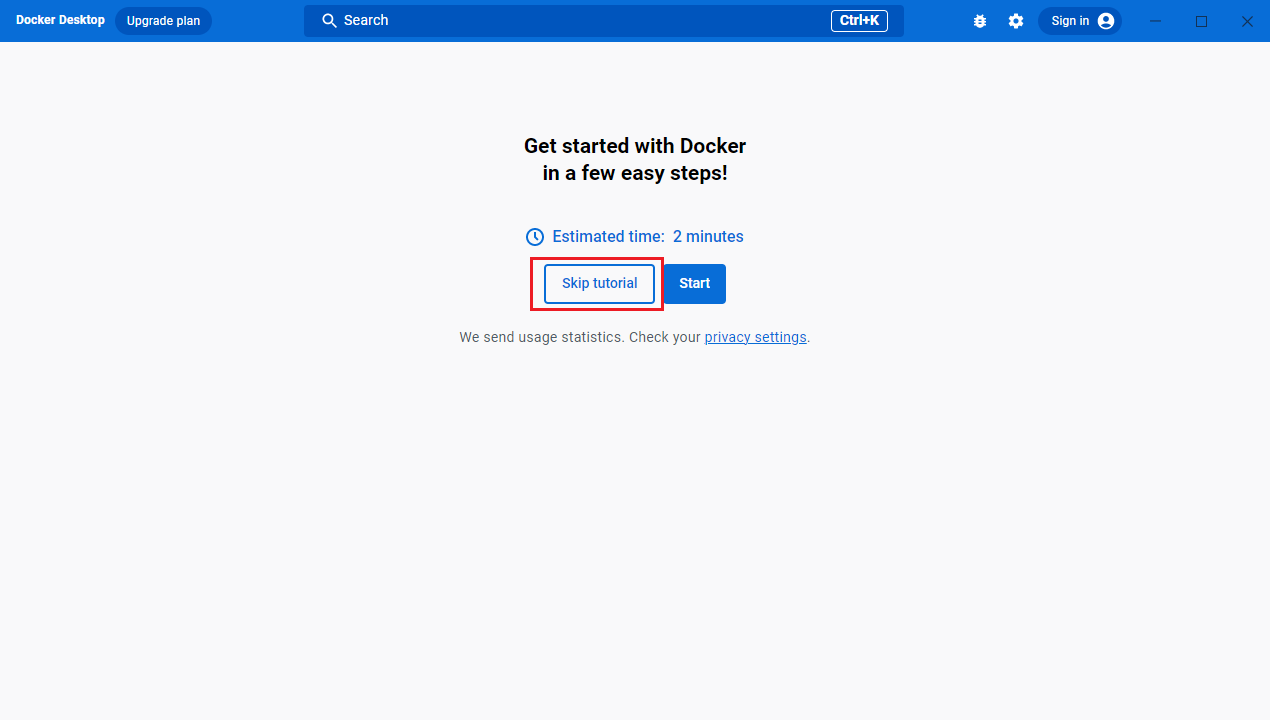
新手教程,跳过即可。
自此,看到此界面说明安装完成了。
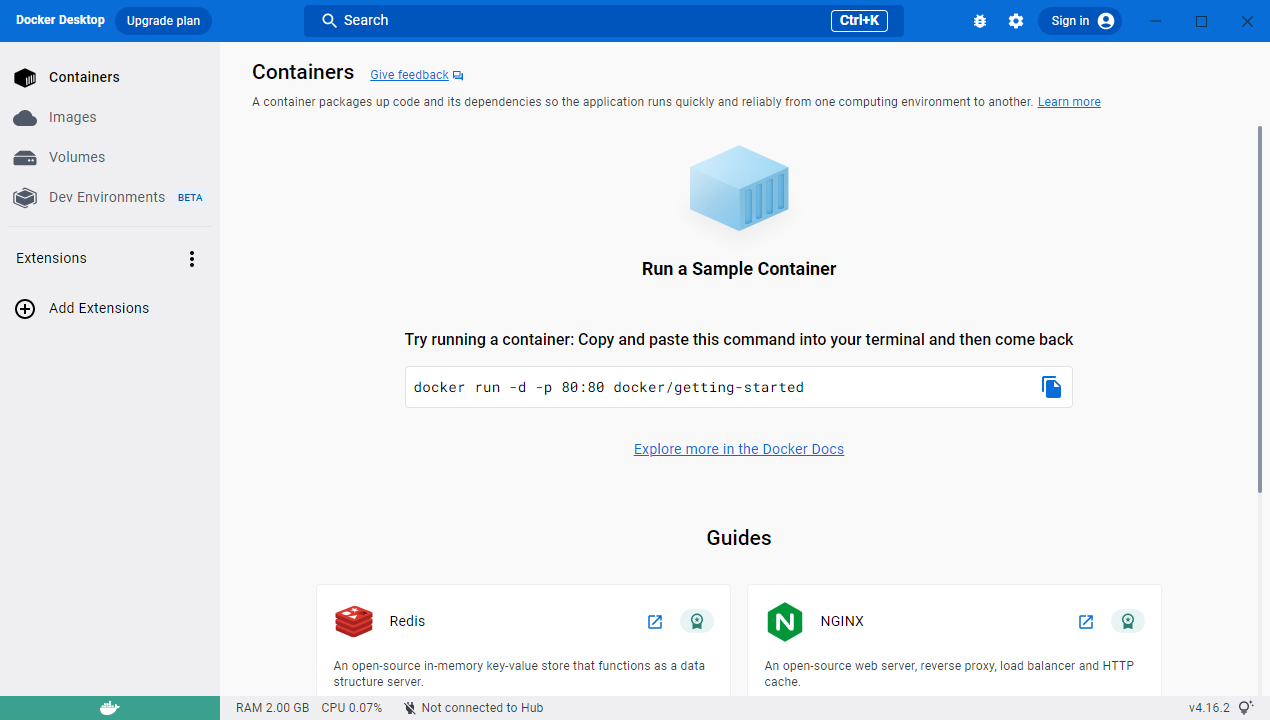
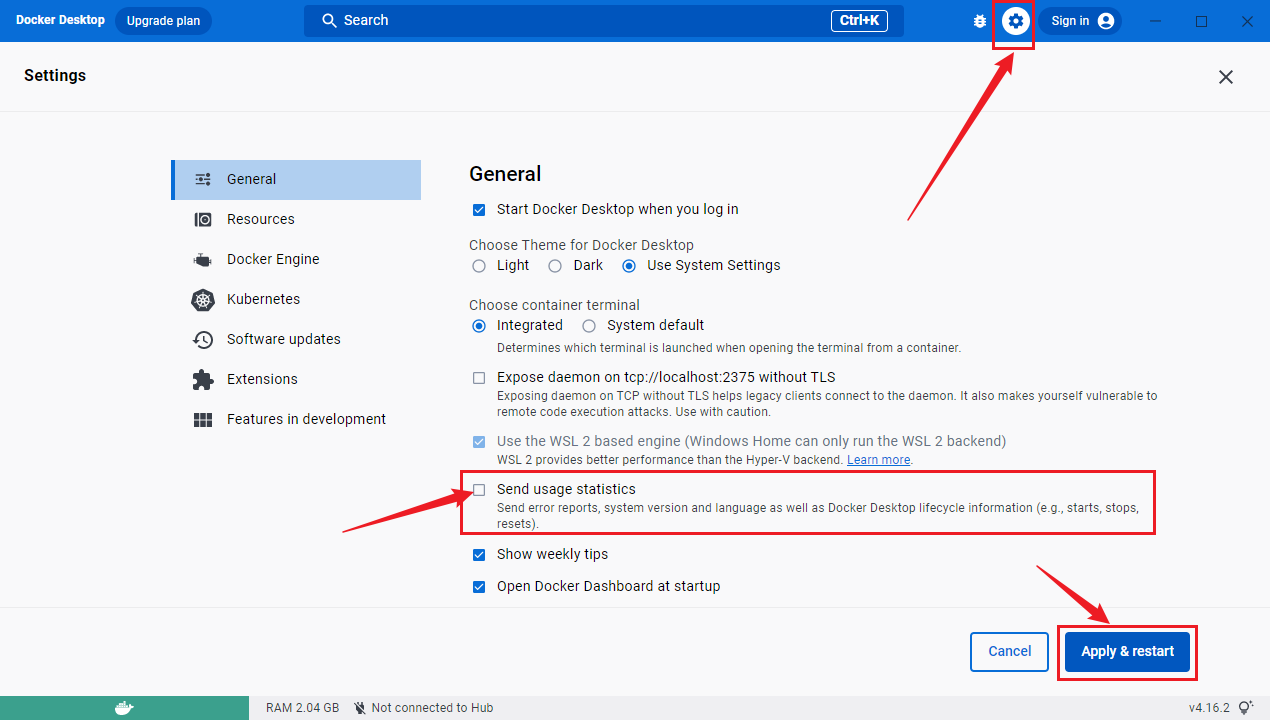
点击右上角的齿轮,进入设置,把【Send usage statistics】前面的勾去掉,然后点击【Apply & restart】。
# 4. Docker 和 hyper-v 冲突问题
VMware、安卓模拟器、Docker 都用到了虚拟化技术,会相互冲突,很蛋疼,还没有什么好的解决方案。
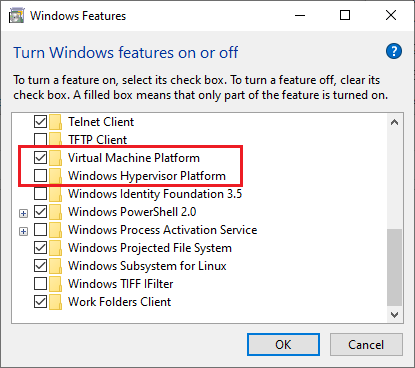
安装新版的安卓模拟器(底层用的 VirtualBox,VB6 开始兼容 Hyper-V),VMware 从 15.5.5 开始兼容 Hyper-V,打开 Windows 功能,检查【Virtual Machine Platform】有没有打开,不然 Docker 会启动不起来。
去设置里改成下图的样子。
参考文献:
Install on Windows | Docker Documentation (opens new window)
Install WSL | Microsoft Learn (opens new window)
Window10同时使用Docker Hyper-v和Android模拟器 - 简书.html (opens new window)
# 在 Linux 系统上安装 Docker
# 安装整体流程
- 在安装新版 Docker 之前,需要先[卸载旧版 Docker 的依赖文件](#卸载旧版 Docker),以免安装的时候产生冲突。
- 选择其中一种安装方式进行安装。
- 安装完成后,根据需要[设置 Docker](#设置 Docker)。
# 卸载旧版 Docker
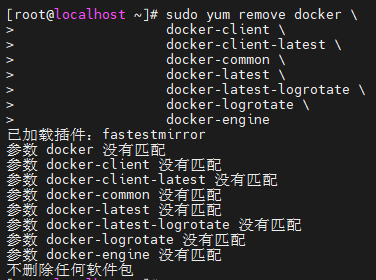
由于新版本 Docker 叫做 docker-ce,但是旧版本 Docker 的依赖叫做 docker 或者 docker-engine,如果安装了旧版的 Docker 需要先卸载再安装新的,以免发生冲突。
sudo yum remove docker \
                  docker-client \
                  docker-client-latest \
                  docker-common \
                  docker-latest \
                  docker-latest-logrotate \
                  docker-logrotate \
                  docker-engine
如果之前没有安装旧版 Docker,删除旧版 Docker 的时候看到下图为正常现象。
# 【推荐】方式一:在线安装
该方法需要服务器可以访问互联网的情况下使用。
# 安装 yum-utils 包,该包提供了 yum-config-manager 工具用于设置 yum 源
sudo yum install -y yum-utils
# 添加 Docker 官方 yum 源
sudo yum-config-manager \
--add-repo \
https://download.docker.com/linux/centos/docker-ce.repo
# 添加阿里云 Docker yum 源,提高国内下载速度
sudo yum-config-manager \
--add-repo \
http://mirrors.aliyun.com/docker-ce/linux/centos/docker-ce.repo
# 更新 yum 缓存
sudo yum makecache fast
# 安装 Docker
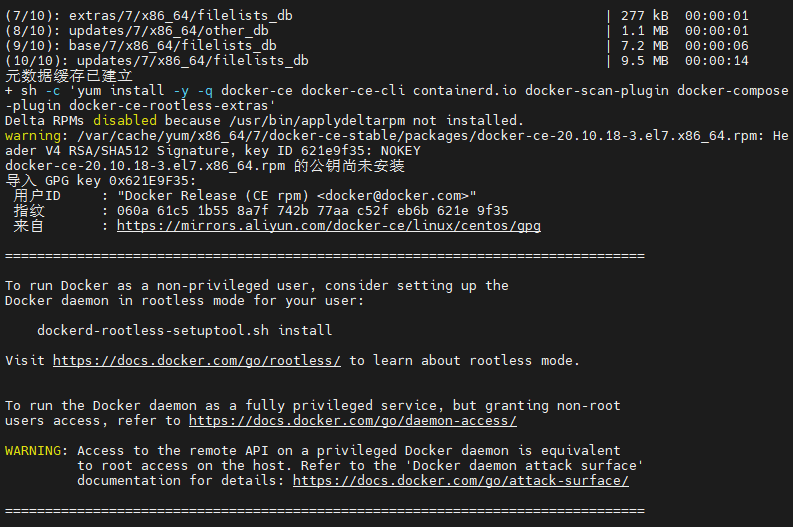
sudo yum install -y docker-ce docker-ce-cli containerd.io docker-compose-plugin
# 方式二:离线安装
当服务器无法访问互联网时,或者网络不通时,可以使用此方法来完成 Docker 的安装。
# 下载 Docker 安装包
先在本地下载 Docker 安装包,然后再上传到服务器上完成安装。
这里以【20.10.18】版本为例:https://download.docker.com/linux/static/stable/x86_64/docker-20.10.18.tgz (opens new window)
如果需要下载其他版本可以到这里下载:https://download.docker.com/linux/static/stable/x86_64/ (opens new window)
# 下载安装脚本
下载【docker.bash】:https://github.com/Jrohy/docker-install/blob/master/docker.bash (opens new window) 下载【install.sh】:https://github.com/Jrohy/docker-install/blob/master/install.sh (opens new window)
找到【Raw】按钮,右键找到【链接另存为...】选项并点击,然后保存到桌面上。
仓库地址:https://github.com/Jrohy/docker-install (opens new window)
# 上传安装包和脚本,开始安装
把安装包【docker-20.10.18.tgz】和安装脚本【docker.bash】和【install.sh】上传到服务器的**同一个目录下**,并进入该目录,执行以下命令:
# 添加执行权限
chmod +x install.sh
# 安装 Docker
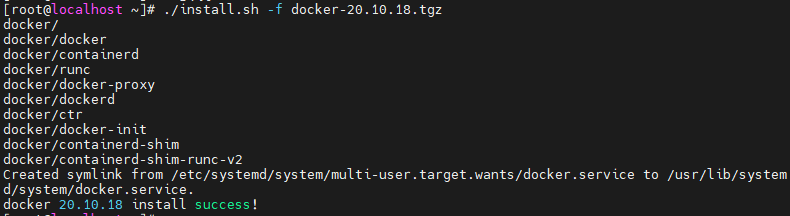
./install.sh -f docker-20.10.18.tgz
执行脚本后看到下面的界面说明安装成功了。
# 【不推荐】方式三:脚本一键安装
官方的建议是在开发环境下使用,不建议在生产环境下使用。
这个脚本很方便,不需要用户去参与交互,所有步骤都是自动化完成的,用于快速安装 Docker 环境。
执行以下命令来完成自动化安装:
注意:执行之后可能需要等待几秒才有响应,但是脚本是在执行的。
curl -fsSL https://get.docker.com | bash -s docker --mirror Aliyun
安装成功后,会看到以下界面:
# 设置 Docker
# 启动 Docker 服务
# 启动 Docker 服务
sudo systemctl start docker
# 查看 Docker 是否启动正常, 看到绿色的小红点 active (running) 则说明启动成功
sudo systemctl status docker
# 设置 Docker 开机自启
sudo systemctl enable docker
# 设置 Docker 镜像加速
直接使用官方的地址下载镜像的时候比较慢,可配置国内镜像源提高镜像下载速度。
使用下面命令直接生成配置文件并重启服务,如果你不是第一次安装 Docker,并且之前有自定义过配置文件,也可以直接使用命令 vi /etc/docker/daemon.json 进行修改。
cat <<EOF > /etc/docker/daemon.json
{
  "registry-mirrors": [
    "https://docker.mirrors.ustc.edu.cn",
    "http://hub-mirror.c.163.com"
  ]
}
EOF
# 修改后需要重启 Docker 服务才能生效
systemctl restart docker
# 查看是否修改成功
docker info | grep mirror
# 查看 Docker 版本号
docker -v
# 查询 Docker 详细信息
docker info
参考文献:
Install Docker Engine on CentOS (opens new window)
02-Docker 安装实践 (opens new window)