# 安装 MariaDB 数据库
# 在 Windows 系统上安装 MariaDB 数据库
# 下载 MariaDB
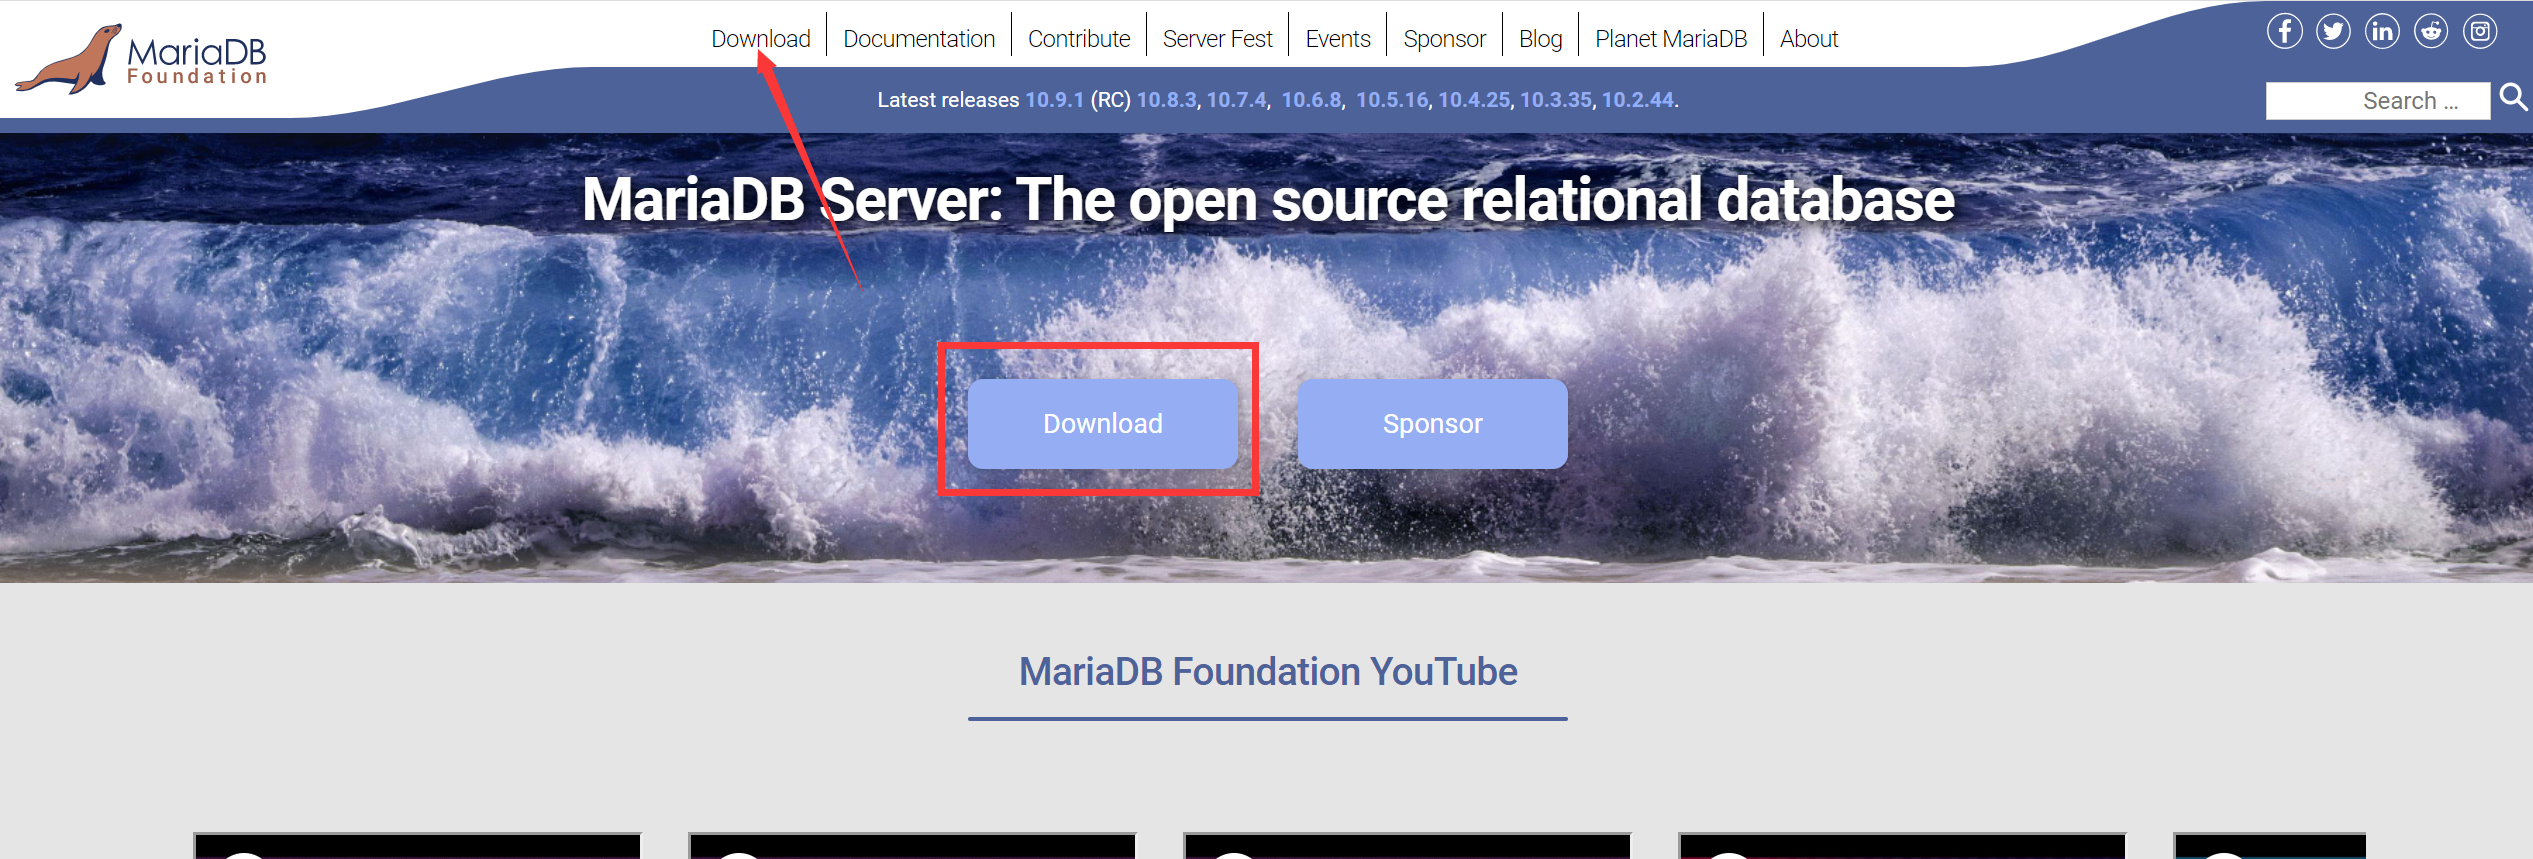
打开 MariaDB 官网:https://mariadb.org/ (opens new window)
点击 Download
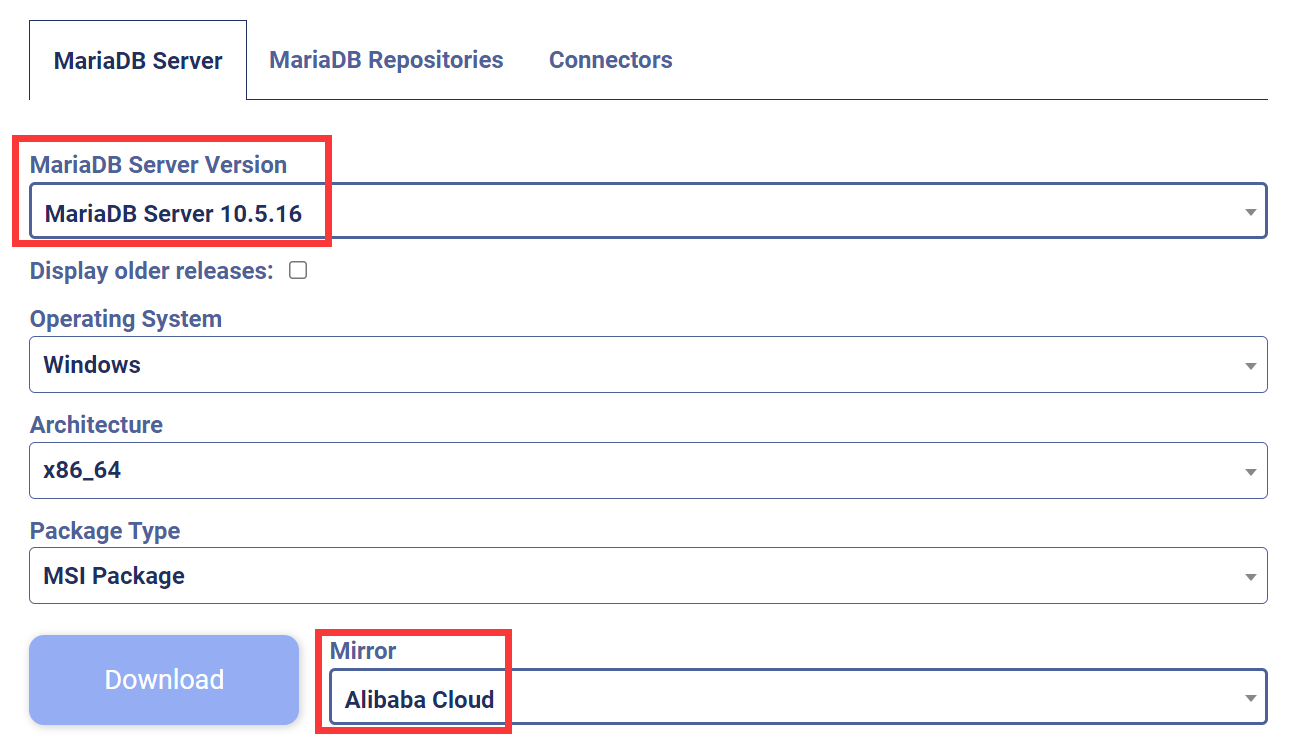
选择需要下载的 MariaDB 版本,这里选择 10.5 这个版本,然后选择 Mirror 为国内的 Alibaba Cloud(阿里云镜像),选择完成后点击 Download 开始下载。
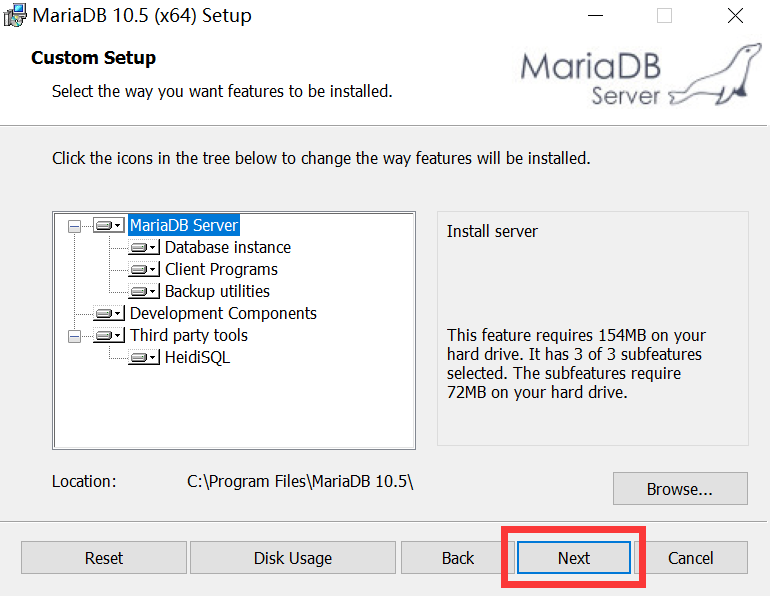
# 安装 MariaDB
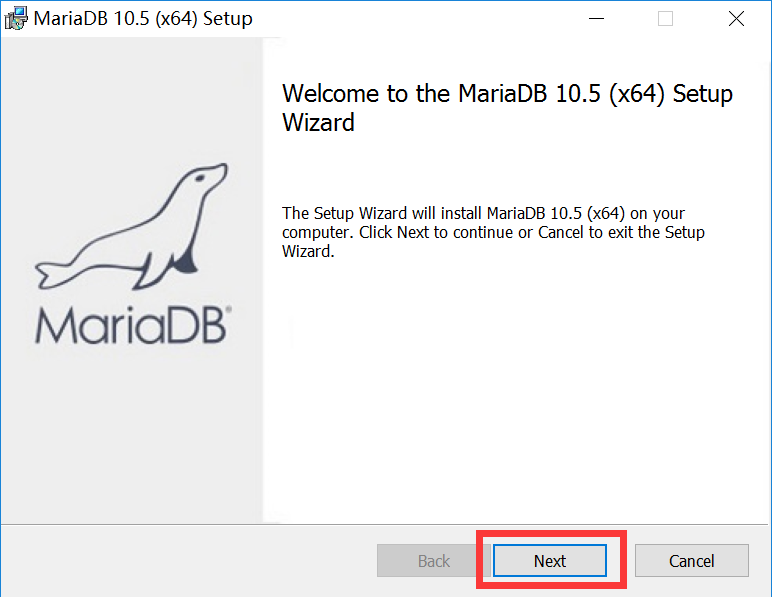
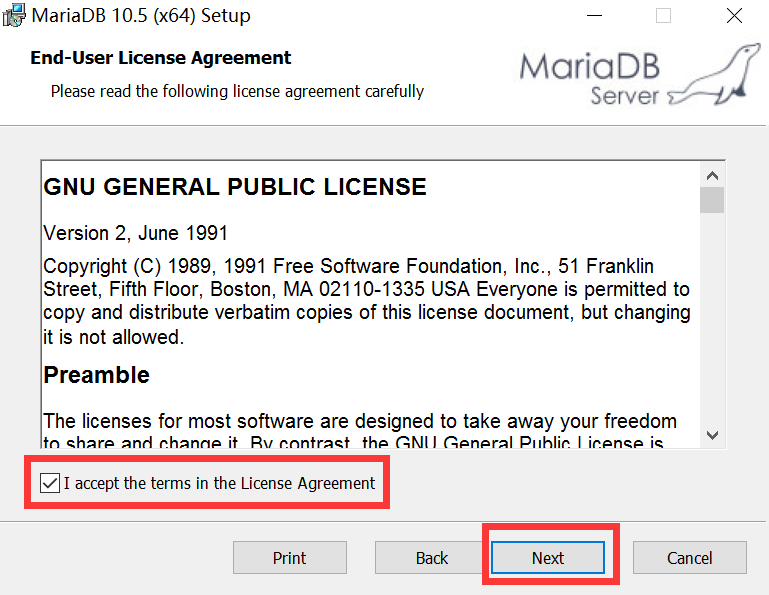
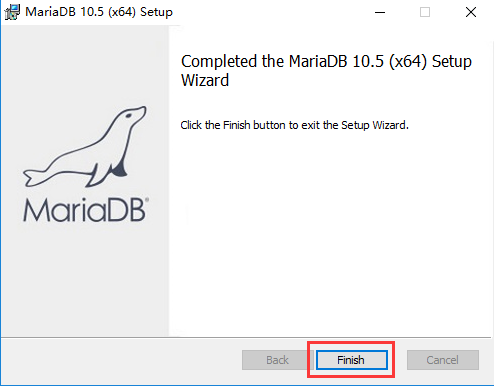
双击运行下载好的 MariaDB 安装包。

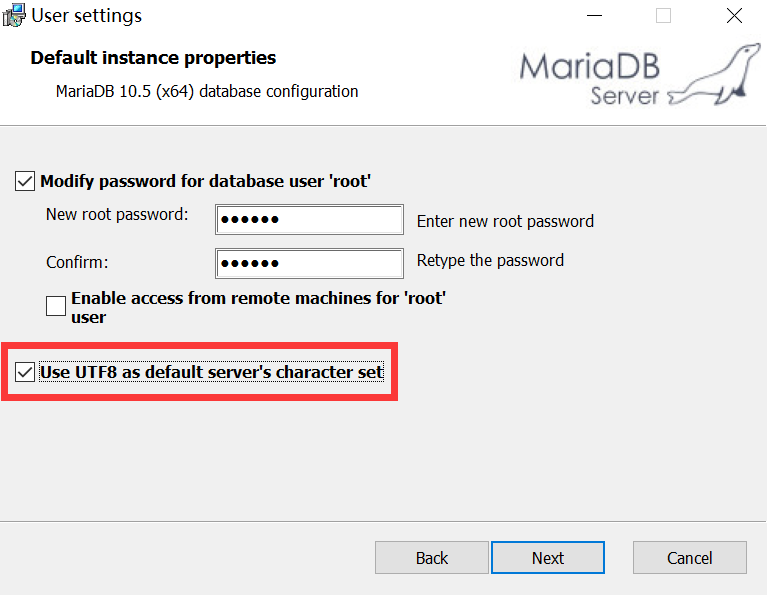
设置 root 密码,不要忘记,可以统一设置为:123456
勾选上使用 UTF8 作为默认的字符编码。
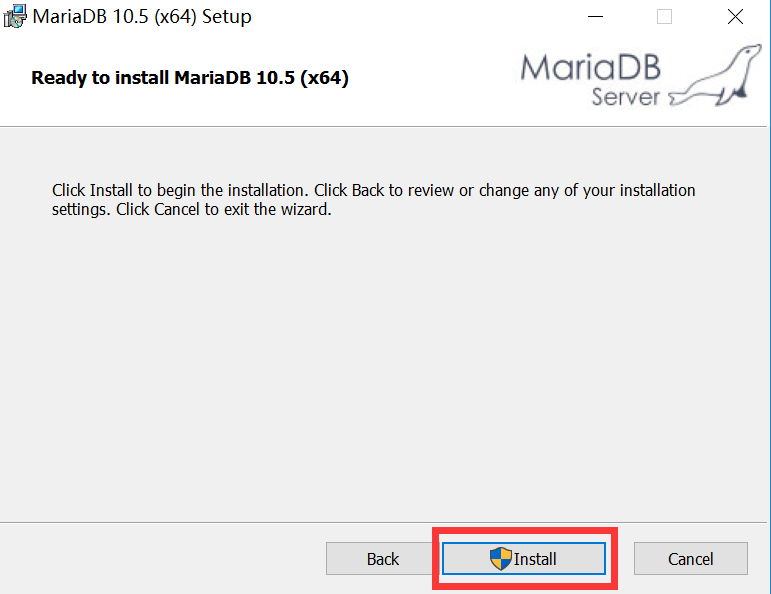
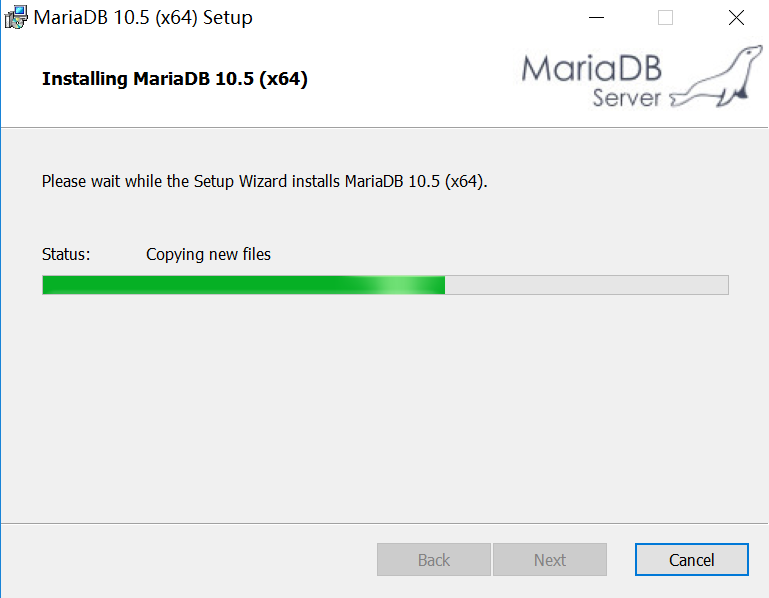
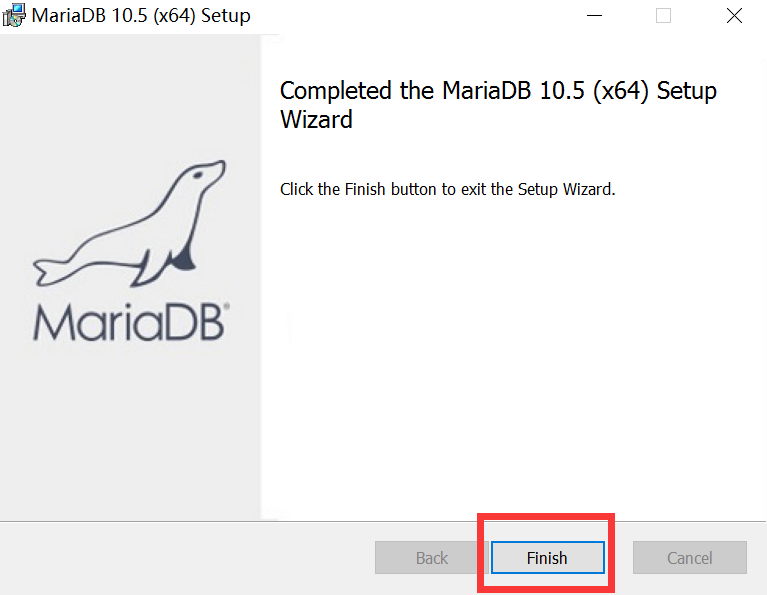
等待安装完毕。
# 连接 MariaDB
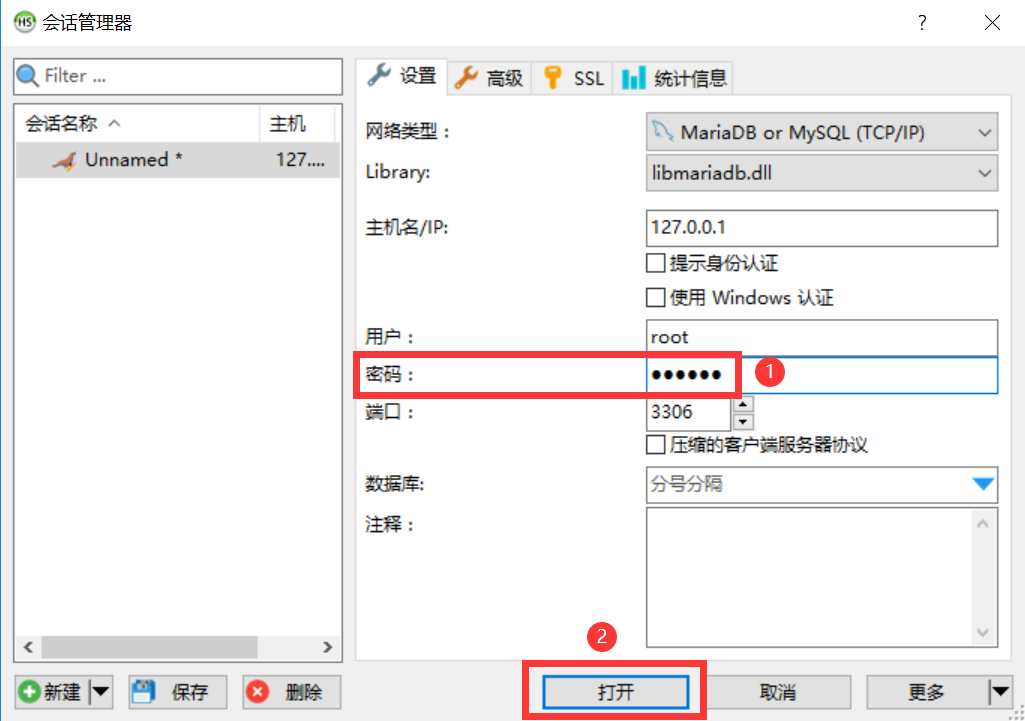
安装完成后,桌面上会多了一个 HeidiSQL,这个是数据库的可视化工具,同样也是免费使用的,安装完 MariaDB 后会自动安装。
双击运行 HeidiSQL。

在密码一栏中输入刚才设置的密码,如:123456
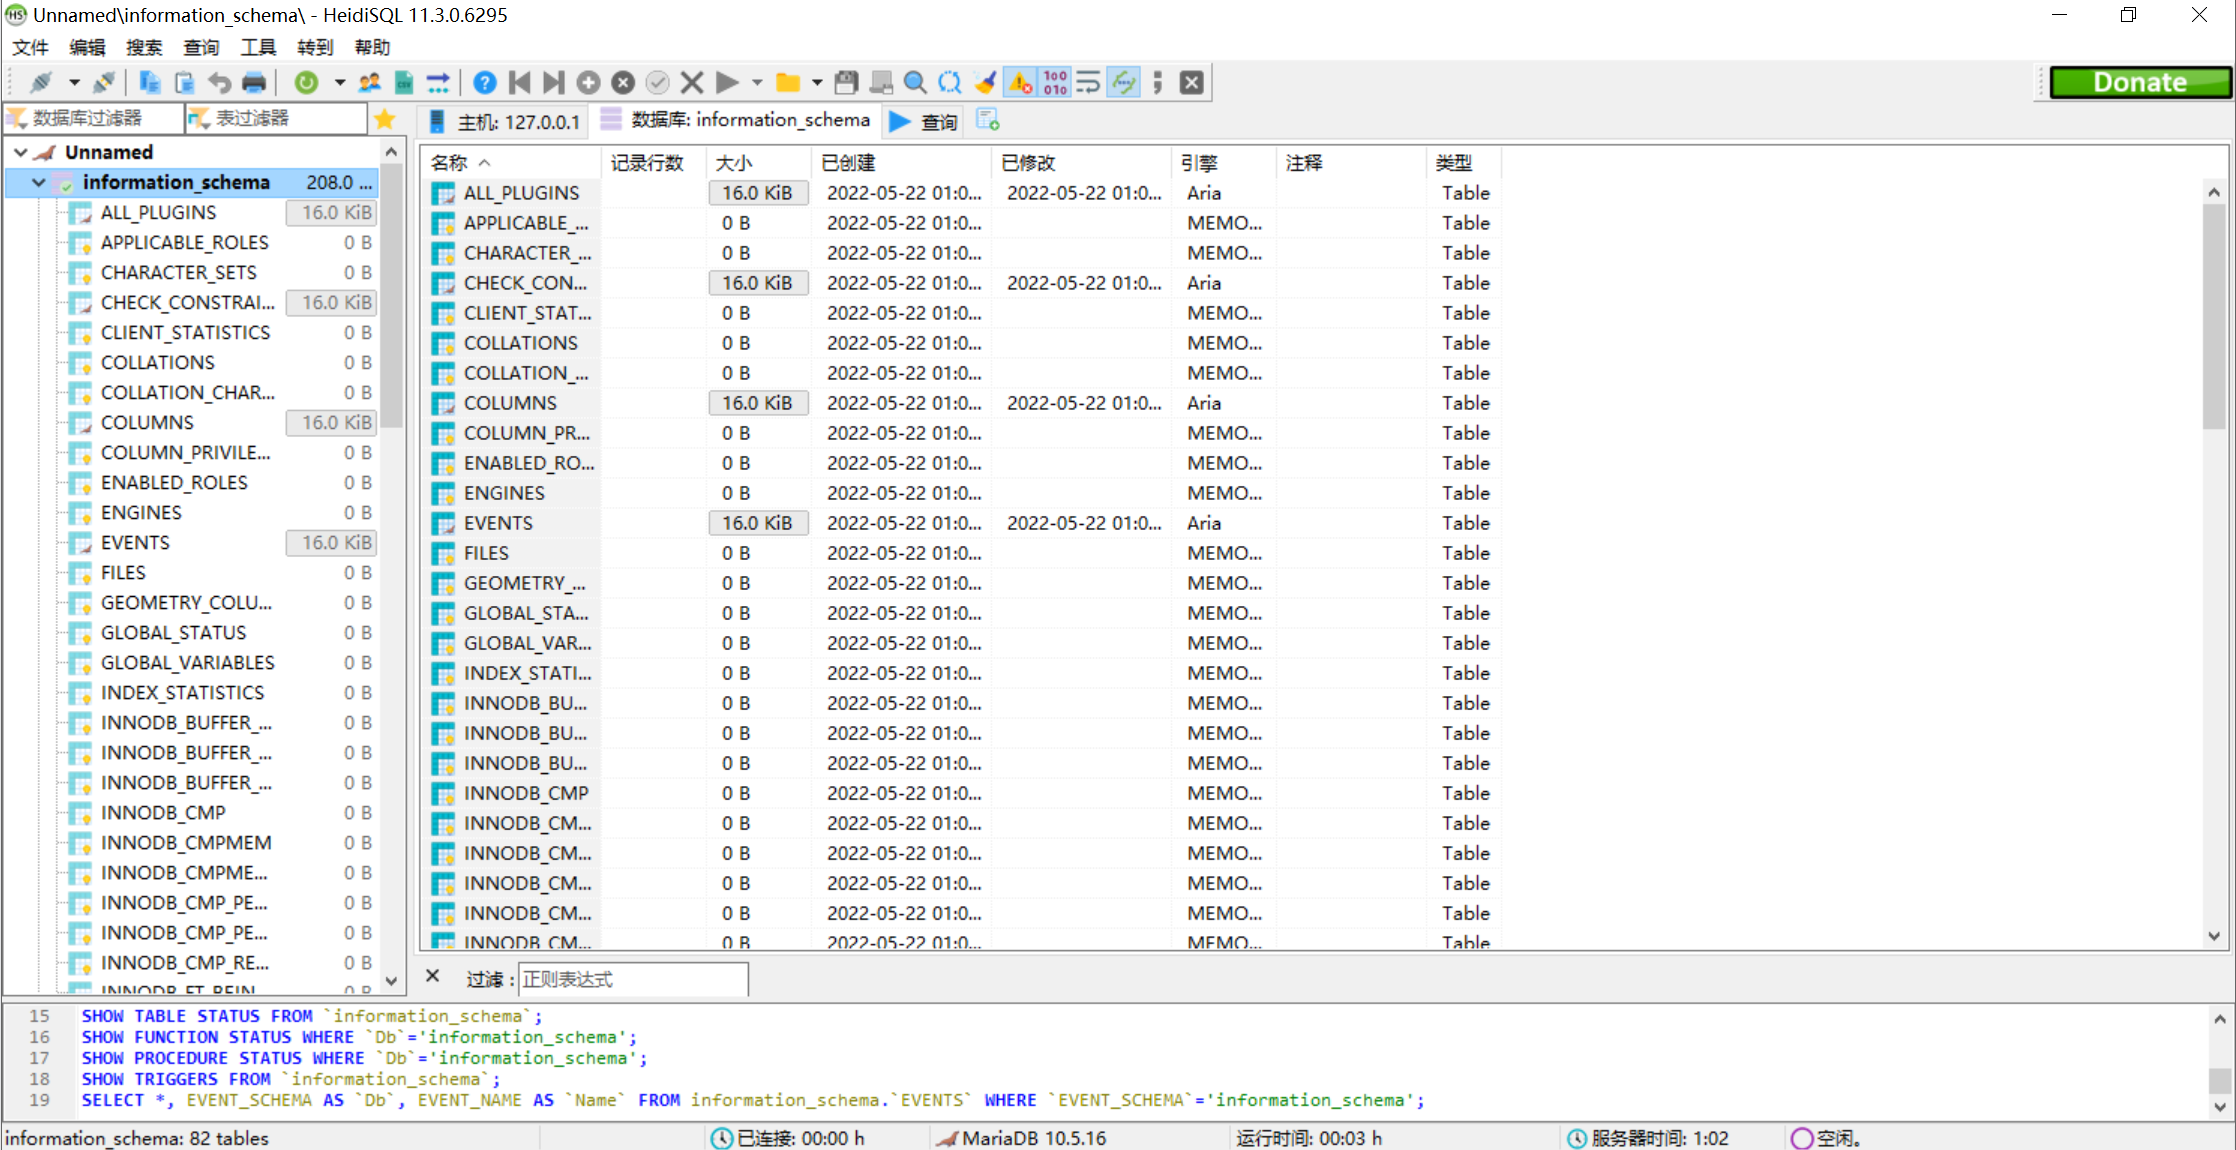
看到这个界面,说明数据库连接上了。
# 配置环境变量
配置环境变量后,我们方便我们直接在命令提示符中使用 MySQL 的相关命令。
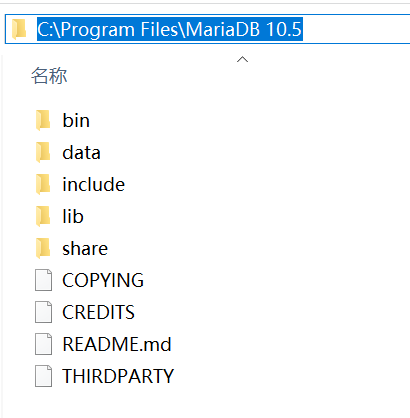
首先,我们要看以下 MariaDB 安装到哪里了。
默认情况下,MariaDB 会安装到 C:\Program Files 目录下。
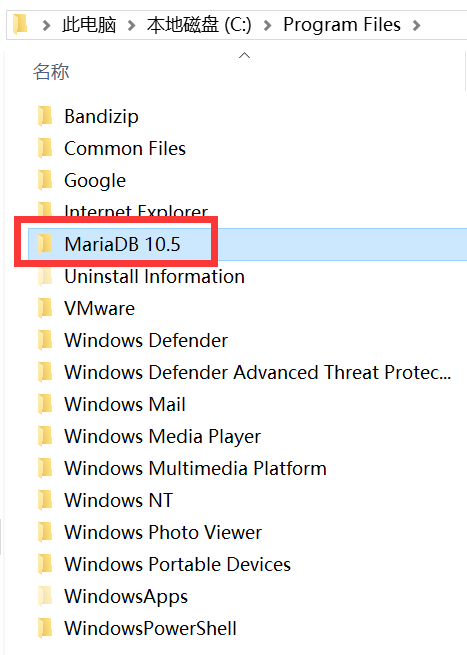
复制这个路径。
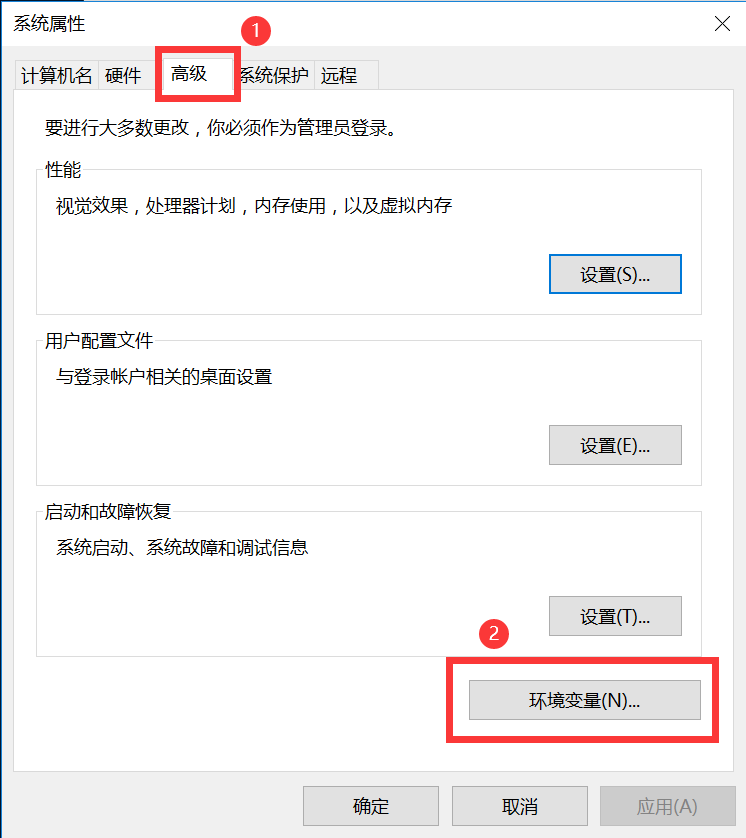
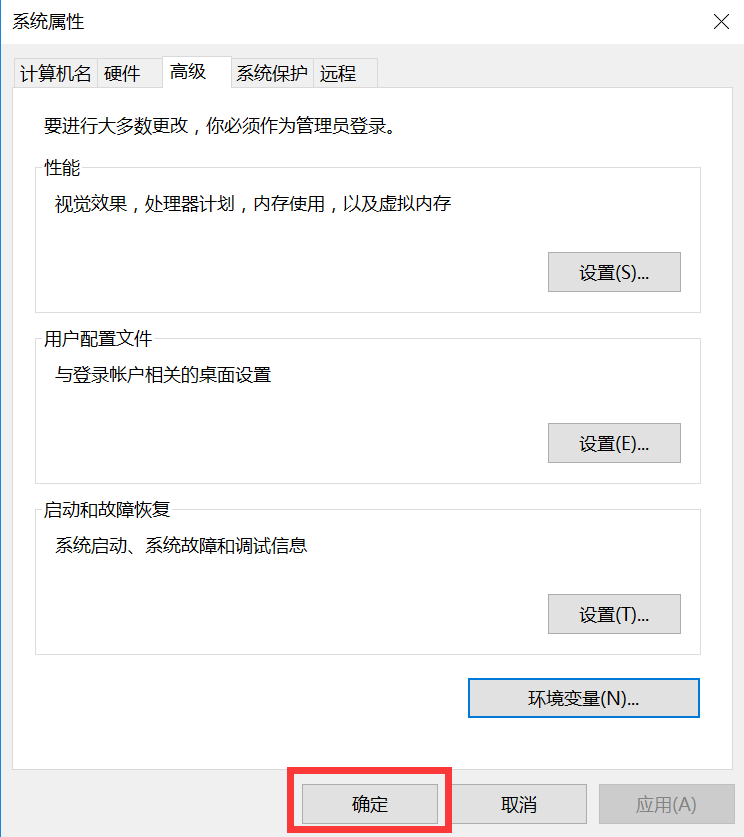
右键此电脑,点击【属性】。

在左侧找到高级系统设置。

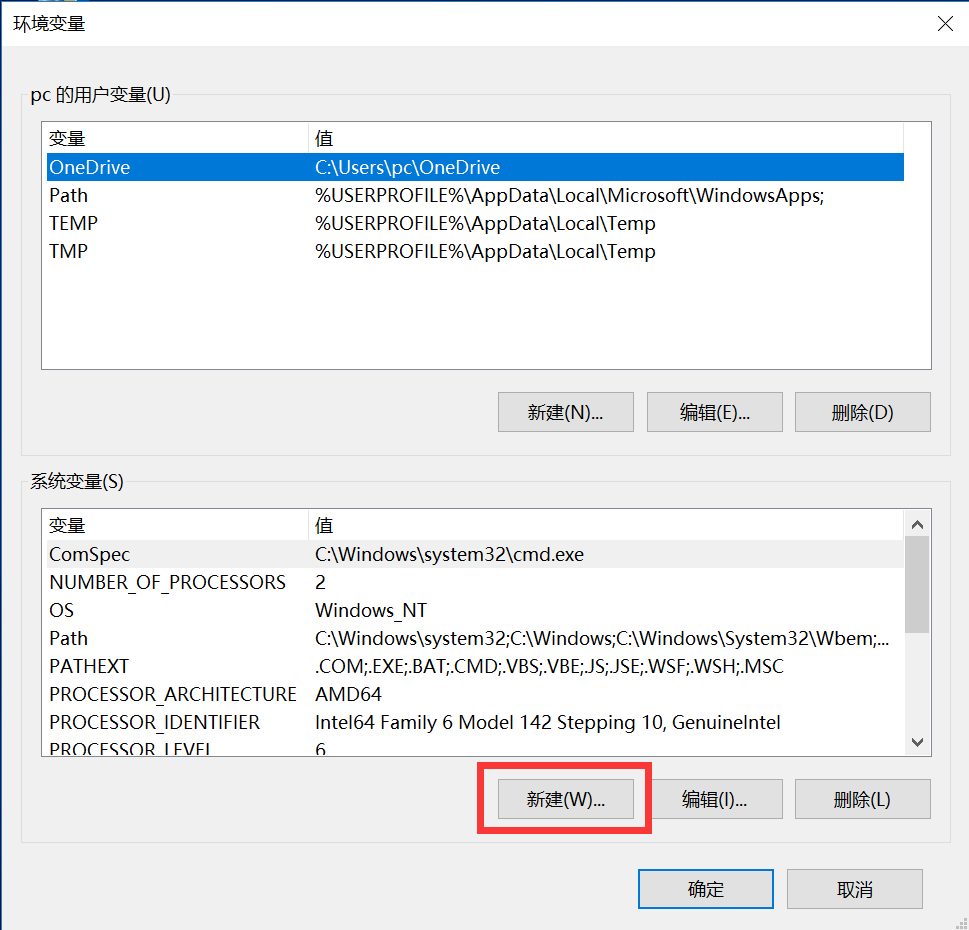
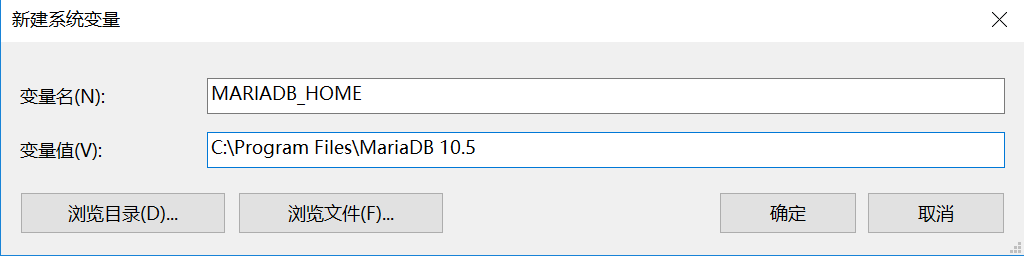
变量名输入【MARIADB_HOME】
变量值输入 MariaDB 的安装路径
填写完成后点击确定
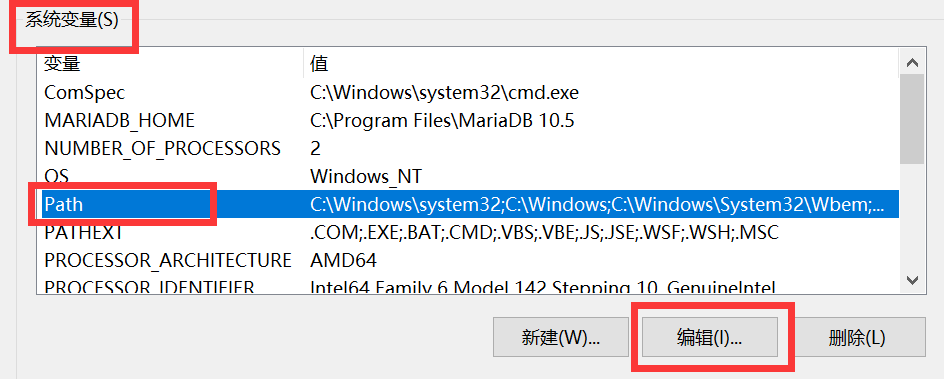
然后找到 Path 变量,编辑它。
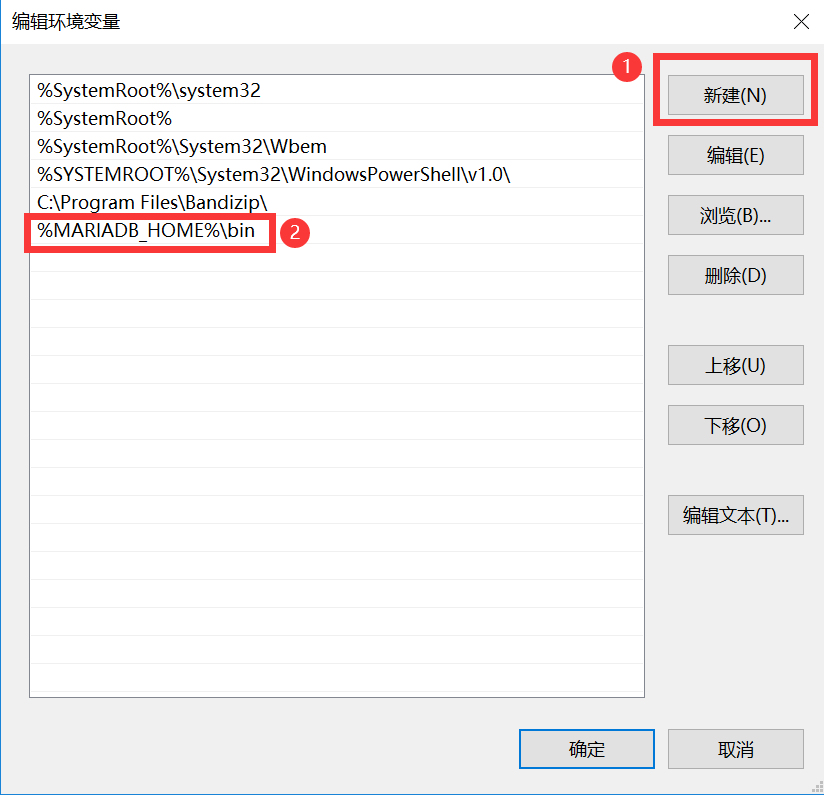
新建一个值。
固定为【%MARIADB_HOME%\bin】
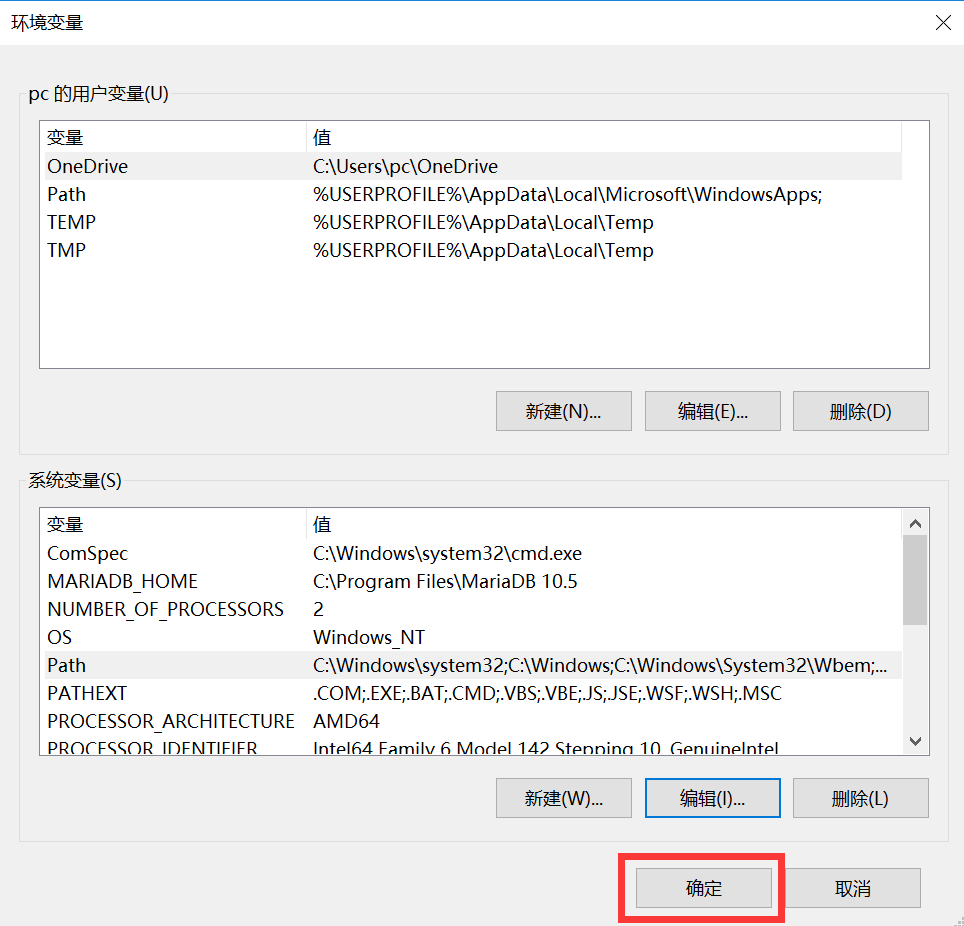
添加完成后点击确定。
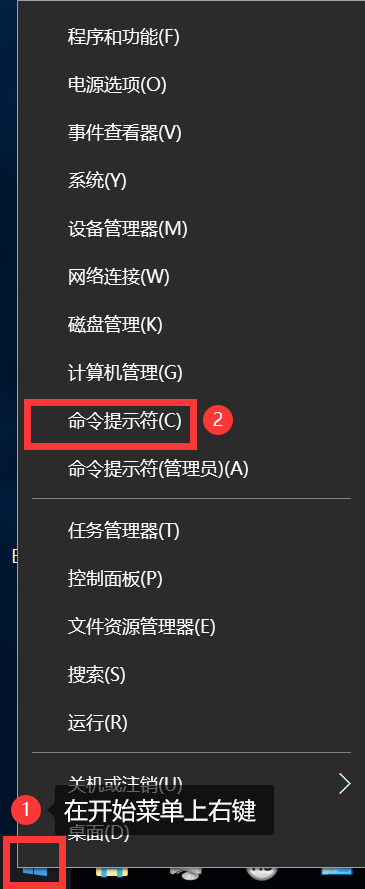
# 在命令提示符中连接数据库
在左下角开始菜单右键,找到【命令提示符】
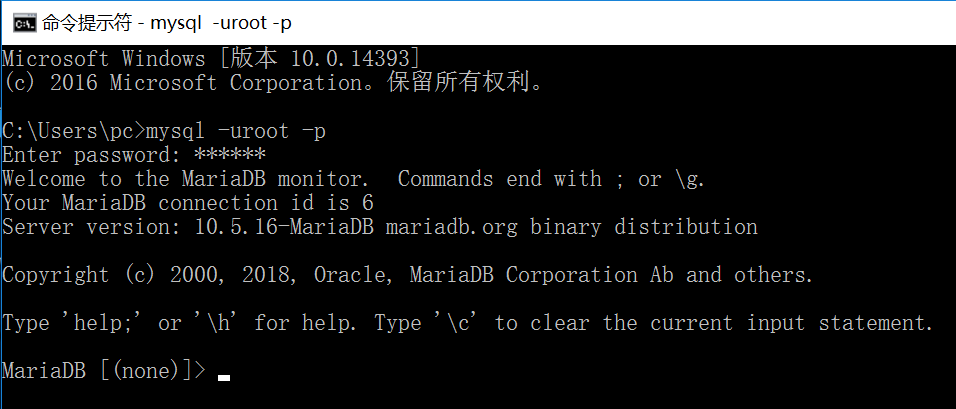
输入命令 mysql -uroot -p
然后输入你的 root 密码,连接成功说明配置完成了。
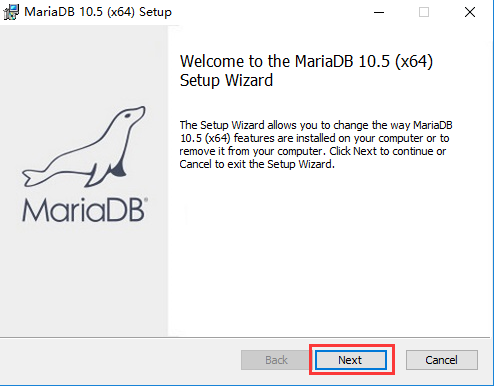
# 卸载 MariaDB
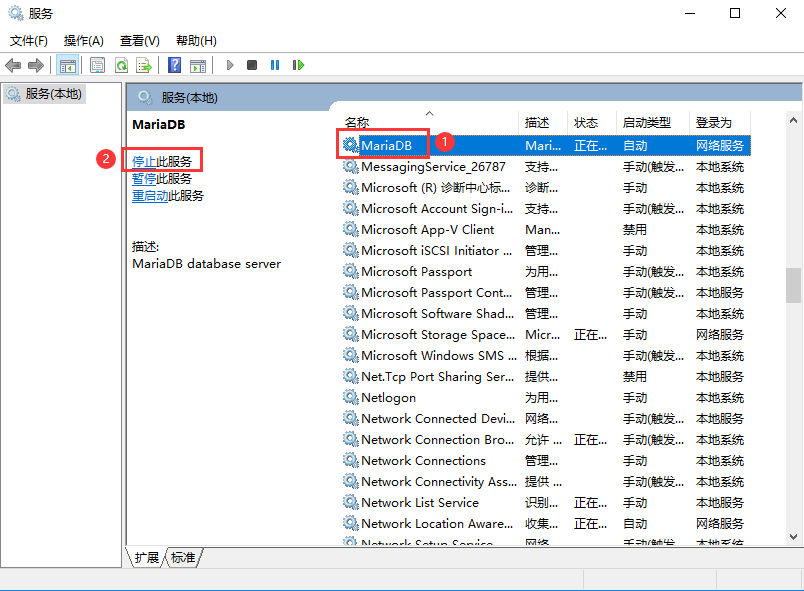
首先,需要先暂停 MariaDB 的服务,服务正在运行是无法卸载的。
开始菜单输入【service】,然后找到【MariaDB】,点击【停止此服务】。
MariaDB 的卸载非常简单,使用自带的卸载器即可完成卸载。
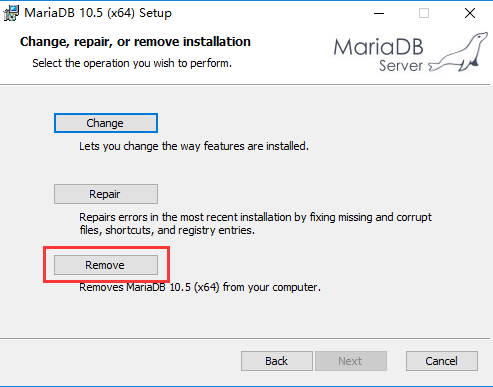
在开始菜单中输入【程序和功能】,然后找到【MariaDB】,右键【卸载/更改】。
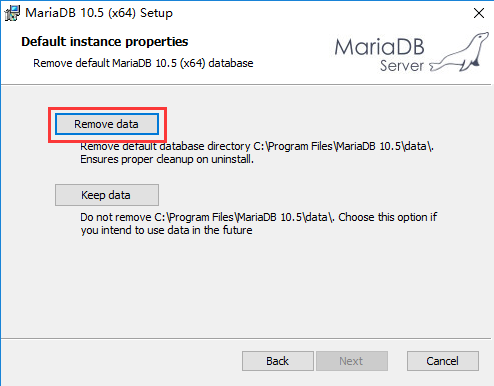
选择是否要保留数据,如果想删除的彻底点,就选择【Remove data】。
# 在 Linux 系统上安装 MariaDB 数据库
# 方式一: 通过 YUM 在线安装
注意:通过这种方式安装的 MariaDB 数据库版本是 5.5 的。
# 安装 MariaDB 数据库
yum -y install mariadb-server
如果下载失败,可尝试执行命令:
yum clean all清空已安装的文件后再试一次。
# 启动 MariaDB 数据库
systemctl start mariadb
其他命令:
# 重启 MariaDB
systemctl restart mariadb
# 查看 MariaDB 的状态
systemctl status mariadb
# 停止 MariaDB
systemctl stop mariadb
# 开机自启 MariaDB 数据库
systemctl enable mariadb
关闭开机自启:
systemctl disable mariadb
# 初始化 MariaDB 数据库
mysql_secure_installation
执行完成后,需要进行一些初始化设置。
# 第一次初始化还没有设置 root 的密码,直接回车。
Enter current password for root (enter for none):

# 是否需要设置 root 的密码,输入 Y
Set root password? [Y/n] Y
# 输入 root 的密码
New password:
# 再次输入 root 的密码
Re-enter new password:

# 是否移除匿名用户,选择 Y。不需要登陆也可以连接 MariaDB 数据库,测试用。
Remove anonymous users? [Y/n] Y

# 是否禁用 root 的远程登录,选择 n,因为我们要用可视化工具去连接。
# 其实这里无论你选择 Y 还是 n,结果都是一样的。
# MariaDB 处于安全考虑,默认不允许用 root 进行远程连接,后面会手动设置。
Disallow root login remotely? [Y/n] n

# 是否移除测试库 test,选择 y。测试库所有人都可以访问,测试的时候才需要用到。
Remove test database and access to it? [Y/n] Y

# 是否重新加载权限表,选择 Y,否则需要重启服务才会生效。
Reload privilege tables now? [Y/n] Y
完整执行日志如下:
[root@localhost ~]# mysql_secure_installation

NOTE: RUNNING ALL PARTS OF THIS SCRIPT IS RECOMMENDED FOR ALL MariaDB
      SERVERS IN PRODUCTION USE!  PLEASE READ EACH STEP CAREFULLY!

In order to log into MariaDB to secure it, we'll need the current
password for the root user.  If you've just installed MariaDB, and
you haven't set the root password yet, the password will be blank,
so you should just press enter here.

Enter current password for root (enter for none):
OK, successfully used password, moving on...

Setting the root password ensures that nobody can log into the MariaDB
root user without the proper authorisation.

Set root password? [Y/n] Y
New password:
Re-enter new password:
Password updated successfully!
Reloading privilege tables..
 ... Success!


By default, a MariaDB installation has an anonymous user, allowing anyone
to log into MariaDB without having to have a user account created for
them.  This is intended only for testing, and to make the installation
go a bit smoother.  You should remove them before moving into a
production environment.

Remove anonymous users? [Y/n] Y
 ... Success!

Normally, root should only be allowed to connect from 'localhost'.  This
ensures that someone cannot guess at the root password from the network.

Disallow root login remotely? [Y/n] n
 ... skipping.

By default, MariaDB comes with a database named 'test' that anyone can
access.  This is also intended only for testing, and should be removed
before moving into a production environment.

Remove test database and access to it? [Y/n] y
 - Dropping test database...
 ... Success!
 - Removing privileges on test database...
 ... Success!

Reloading the privilege tables will ensure that all changes made so far
will take effect immediately.

Reload privilege tables now? [Y/n] y
 ... Success!

Cleaning up...

All done!  If you've completed all of the above steps, your MariaDB
installation should now be secure.

Thanks for using MariaDB!
# 连接 MariaDB 数据库
测试数据库用户名和密码是否有效。在出来的提示框中输入设置的 root 密码
mysql -uroot -p
# 远程连接 MariaDB 数据库
开放 3306 端口:
firewall-cmd --add-port=3306/tcp --zone=public --permanent
firewall-cmd --reload
查询端口是否开放,yes 代表已开放此端口:
firewall-cmd --query-port=3306/tcp
设置允许使用 root 用户远程连接数据库,注意这里需要把 123456 替换成你设置的 root 的密码:
GRANT ALL PRIVILEGES ON *.* TO 'root'@'%' IDENTIFIED BY '123456';
刷新权限表:
FLUSH PRIVILEGES;
备注:
对外的 root 密码可以和在服务器本机连接的密码不一样,并且对外给予的权限也可以单独设置不一样。MySQL 是支持多用户多权限多 IP 的,并且根据每个请求的 IP 可以单独设置用户的账号密码以及权限。
但是,实际应用为了方便,一般都会设置成统一一样的。
所以,你也可以通过 update 的方式,把范围在本机的 host,修改成所有:
UPDATE mysql.user SET host = '%' WHERE host='localhost';然后,刷新权限表。
FLUSH PRIVILEGES;
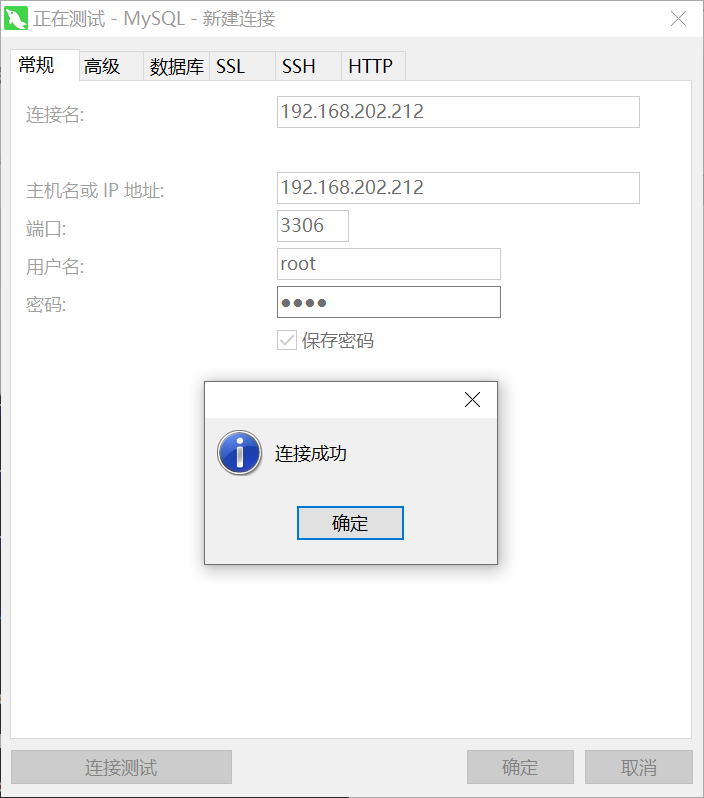
使用可视化工具测试是否可以远程连接至 MariaDB 数据库:
填写好对应的信息后,点击连接测试。
# 关闭 binlog 日志
binlog 会记录每条 SQL 语句的增删改,导致数据库日志非常庞大,最终磁盘不足,所以需要关闭。
MariaDB 是默认不开启 binlog 日志的,但是最好也检查一下。
SHOW VARIABLES LIKE 'log_bin';
看到以下结果说明已经关闭。
| Variable_name | Value |
|---|---|
| log_bin | OFF |
# 开启 binlog 日志(可选)
修改 my.cnf
vi /etc/my.cnf
在 [mysqld] 下添加以下内容:
# binlog 文件名,格式为:mysql-bin.00000*,从 1 开始递增
log-bin=mysql-bin
# binlog 日志保留天数
expire-logs-days=7
# binlog 日志有三种格式,分别是 Statement、mixed、ROW
binlog-format=ROW
# 服务器 id,主从同步的时候才使用到,如果需要建议改为 IP 地址的最后一段
# 比如:10.2.52.128,则 server-id 设为 128
server-id=1
日志默认存放在:/var/lib/mysql
修改完成后,要重启服务才能生效:
systemctl restart mariadb
执行 SQL 语句,查看是否开启成功。出现 ON 说明开启成功:
show variables like 'log_bin';
# 卸载 MariaDB 数据库
如果我们需要从 MariaDB 换到 MySQL,或者想进行版本升级,这个时候需要先卸载之前安装的 MariaDB。
注意:卸载前备份所有数据库的数据库!!!
# 查看已安装的 MariaDB 包
rpm -qa | grep mariadb
参考显示日志:
[root@localhost ~]# rpm -qa | grep mariadb
mariadb-libs-5.5.68-1.el7.x86_64
mariadb-5.5.68-1.el7.x86_64
mariadb-server-5.5.68-1.el7.x86_64
# 卸载 MariaDB 包
yum -y remove mariadb
# 删除配置文件
rm -rf /etc/my.cnf
# 删除数据目录
如果没有删除数据目录,重新安装数据库后,启动时会提示数据库已存在,无法正常启动。
rm -rf /var/lib/mysql/
参考资料:
Linux安装MariaDB数据库 (opens new window)
mariadb开启binlog日志文件 (opens new window)